
Visual Designer: Creating UIs Without Writing Code
Learn how to use PocketCode's drag & drop visual designer to build user interfaces and export clean React, Vue, Svelte or HTML/CSS code.
Visual Designer: Build Interfaces by Dragging and Dropping
The Visual Designer is one of the most powerful features in PocketCode. It lets you create user interfaces visually and automatically generates clean, production-ready code.
Why a visual designer?
Designing UIs on a phone screen can be challenging. Writing layout code manually is slow and error-prone on small screens. The visual designer solves this with an intuitive drag & drop interface.
Advantages
- Speed: Design in minutes, not hours
- Visual: See the result in real-time
- Clean code: Generates code following best practices
- Multi-target: React, Vue, Svelte, HTML/CSS and SVG
Getting started
Open the designer
- In any project, tap the Design icon in the tab bar
- Select the export target (React, Vue, Svelte, HTML/CSS)
- Start with a blank canvas or choose a template
Basic interface
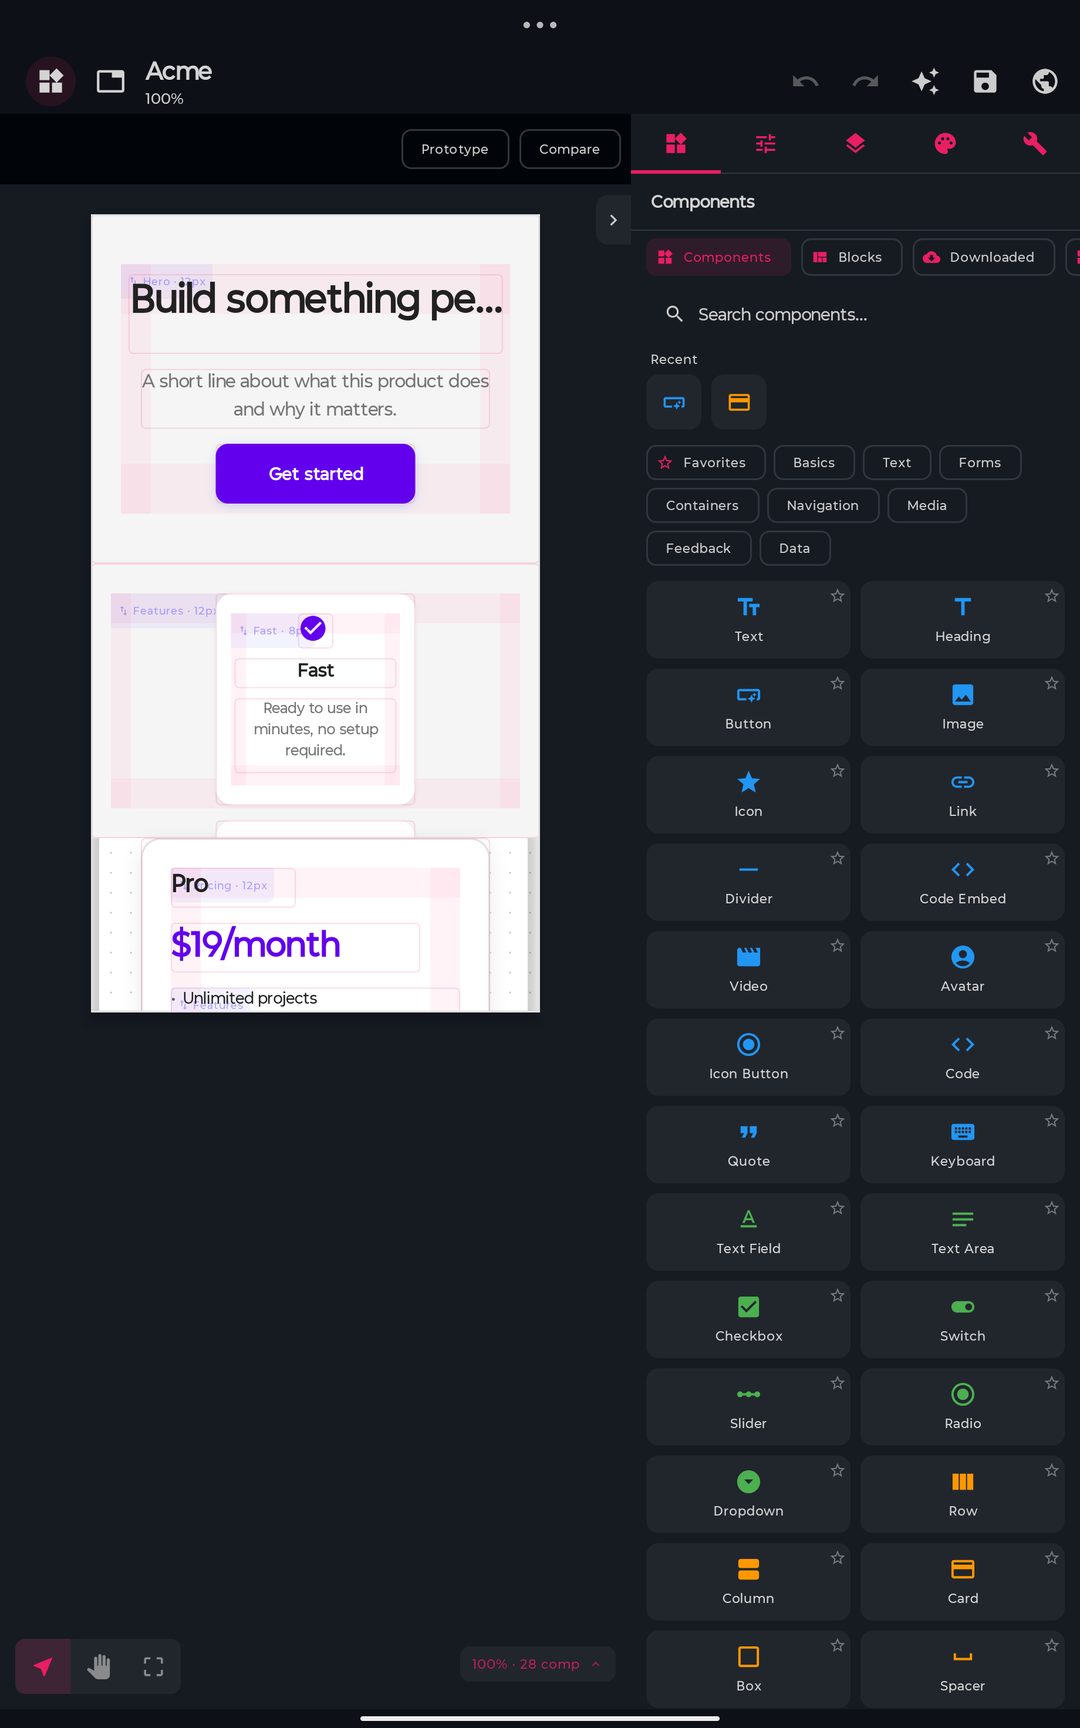
The designer is divided into:
- Side panel — Components, properties, layers, theme and tools, in five tabs
- Canvas — Your design area, with the artboard and the guides
On a tablet the side panel is docked beside the canvas, so it never covers what you are working on. On a phone it comes up as a sheet when you need it.
Available components
The palette covers 49 component types. A selection:
Layout
| Component | Description |
|---|---|
| Container | Flexible container |
| Row | Horizontal elements |
| Column | Vertical elements |
| Grid | CSS Grid layout |
| Scroll | Scrollable area |
Input
| Component | Description |
|---|---|
| Button | Button with variants |
| TextInput | Text field |
| Toggle | On/Off switch |
| Slider | Value selector |
| Dropdown | Dropdown menu |
| Checkbox | Checkbox |
| RadioGroup | Radio options |
Display
| Component | Description |
|---|---|
| Text | Text with styles |
| Image | Images/icons |
| Card | Information card |
| List | Dynamic list |
| Badge | Notification badge |
| Divider | Visual separator |
Navigation
| Component | Description |
|---|---|
| NavBar | Top navigation bar |
| TabBar | Tab navigation |
| BottomNav | Bottom navigation |
| Breadcrumb | Hierarchical navigation |
Practical tutorial: Login screen
Let's create a complete login screen step by step:
Step 1: Basic structure
Drag a Column to the canvas and configure:
- Alignment: center
- Padding: 24px
- Background: #0a0a0a
Step 2: Add the logo
Inside the column, drag an Image:
- Size: 120x120
- Border-radius: full (circle)
- Margin-bottom: 32px
Step 3: Text fields
Add two TextInput components:
Email:
- Placeholder: "Email"
- Type: email
- Icon: mail
- Width: 100%
Password:
- Placeholder: "Password"
- Type: password
- Icon: lock
- Width: 100%
Step 4: Login button
Drag a Button:
- Text: "Log In"
- Variant: primary
- Width: 100%
- Border-radius: 12px
Step 5: Extra links
Add Text components for:
- "Forgot your password?" (link style)
- "Don't have an account? Sign up" (dimmed text + link)
Generated code
The designer automatically produces clean code:
// React output
export function LoginScreen() {
	const [email, setEmail] = useState("");
	const [password, setPassword] = useState("");

	return (
		<div className="flex flex-col items-center justify-center min-h-screen bg-neutral-950 p-6">
			<img src="/logo.png" alt="Logo" className="w-30 h-30 rounded-full mb-8" />

			<input
				type="email"
				placeholder="Email"
				value={email}
				onChange={(e) => setEmail(e.target.value)}
				className="w-full p-3 mb-4 bg-neutral-900 rounded-xl
                   border border-neutral-800 text-white"
			/>

			<input
				type="password"
				placeholder="Password"
				value={password}
				onChange={(e) => setPassword(e.target.value)}
				className="w-full p-3 mb-6 bg-neutral-900 rounded-xl
                   border border-neutral-800 text-white"
			/>

			<button
				className="w-full p-3 bg-blue-600 rounded-xl
                          text-white font-semibold hover:bg-blue-700"
			>
				Log In
			</button>

			<p className="mt-4 text-neutral-500 text-sm">
				Don't have an account? <span className="text-blue-400">Sign up</span>
			</p>
		</div>
	);
}
<!-- Vue output -->
<script setup>
import { ref } from "vue";
const email = ref("");
const password = ref("");
</script>

<template>
  <div class="flex flex-col items-center justify-center min-h-screen bg-neutral-950 p-6">
    <img src="/logo.png" alt="Logo" class="w-30 h-30 rounded-full mb-8" />
    <input
      v-model="email"
      type="email"
      placeholder="Email"
      class="w-full p-3 mb-4 bg-neutral-900 rounded-xl border border-neutral-800 text-white"
    />
    <input
      v-model="password"
      type="password"
      placeholder="Password"
      class="w-full p-3 mb-6 bg-neutral-900 rounded-xl border border-neutral-800 text-white"
    />
    <button
      class="w-full p-3 bg-blue-600 rounded-xl text-white font-semibold hover:bg-blue-700"
    >
      Log In
    </button>
    <p class="mt-4 text-neutral-500 text-sm">
      Don't have an account? <span class="text-blue-400">Sign up</span>
    </p>
  </div>
</template>
Advanced features
Responsive design
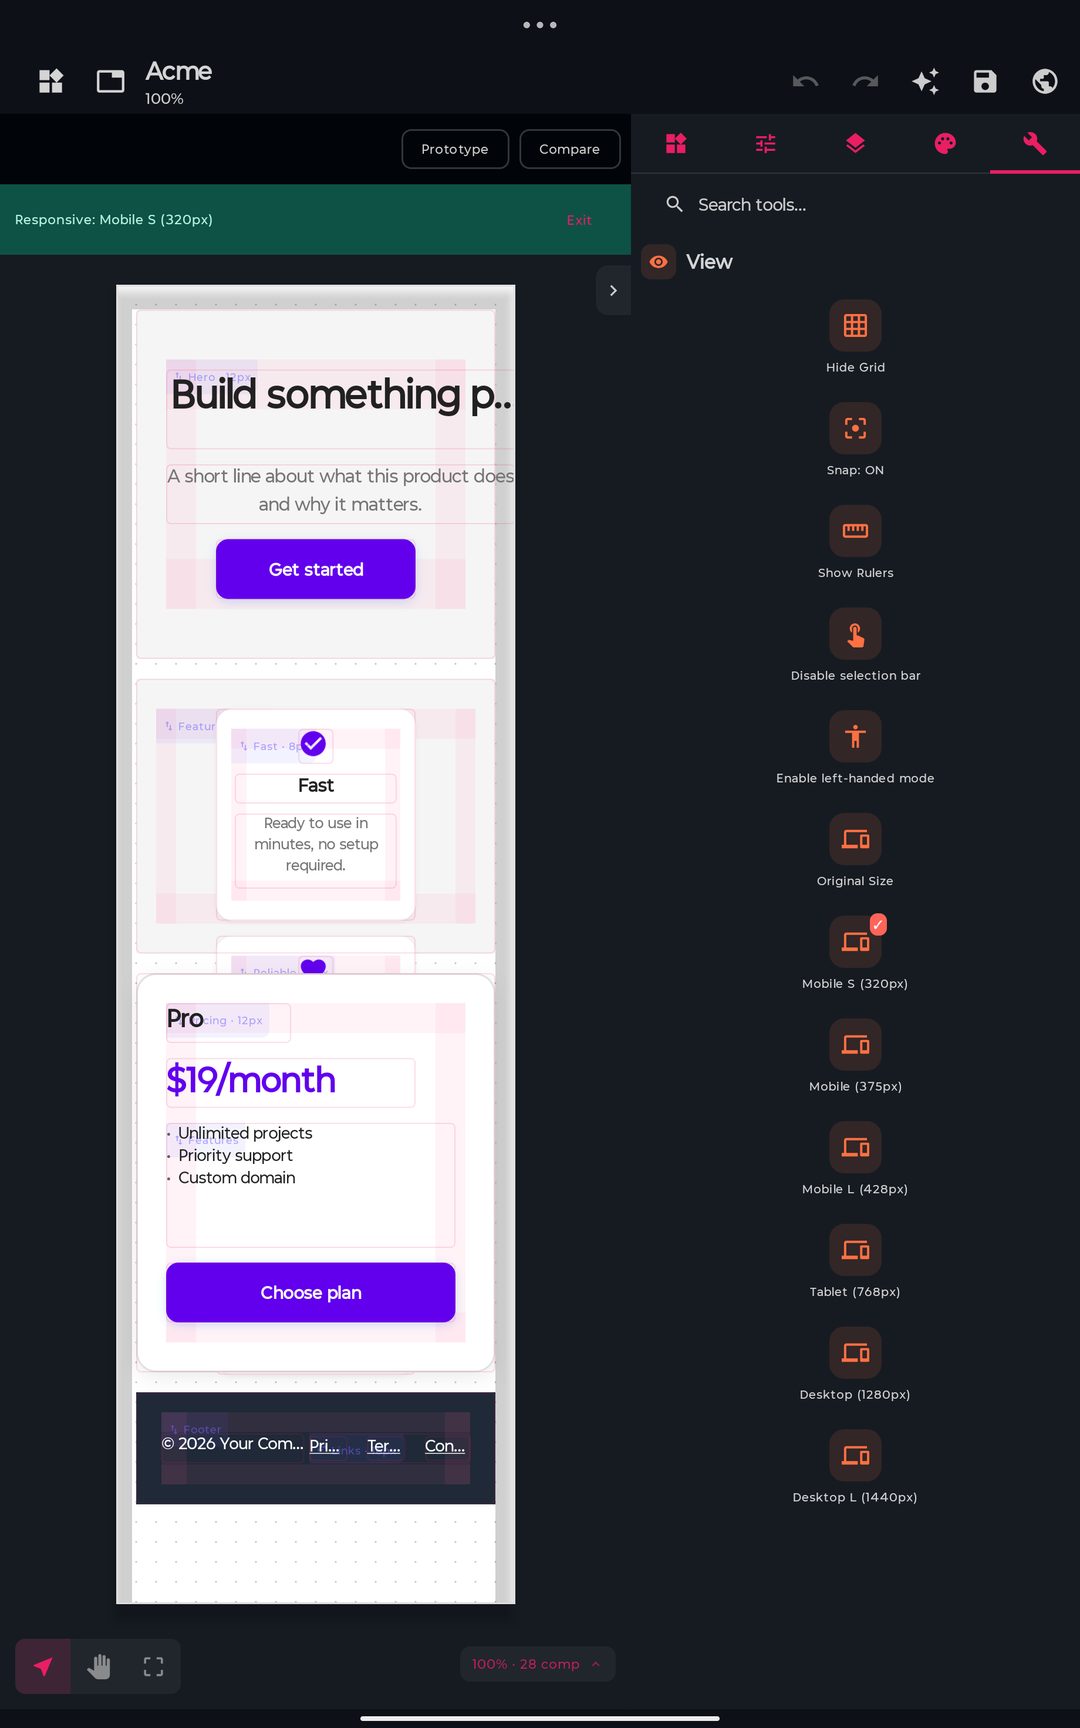
The designer automatically handles responsiveness:
- Auto-layout: Elements adjust to screen size
- Breakpoints: Define different arrangements for mobile/tablet
- Relative units: Uses
%,remandflexinstead of fixed pixels
Interaction states
The designer captures visual states, not behavior — it emits static HTML/CSS, so there's no event wiring or navigation. What you can set per component:
- Select a component (e.g., a Button)
- Style its hover, active, focus and disabled states independently
- For links, set the
hreftarget
Actual behavior (click handlers, routing, data) is added later in code, on the HTML/CSS/React/Vue/Svelte the designer exports.
Reusable templates
Save your designs as templates:
- Custom components: Save combinations as single components
- Design system: Define colors, typography and spacing
- Screen templates: Share complete layouts with the team
Gesture support
The designer is designed for touch interaction:
- Pinch to zoom on the canvas
- Double-tap to select nested elements
- Long-press for contextual menus
- Swipe to move between panels
Export targets
The designer generates real, editable code — all web-based:
| Target | Output |
|---|---|
| React / JSX | Components with hooks |
| Vue | Single-file components |
| Svelte | .svelte components |
| HTML + CSS | Clean, framework-free markup |
| SVG | Vector export of the canvas |
Tips and best practices
- Start with the structure: Place containers before content
- Use auto-layout: Avoid fixed sizes whenever possible
- Name your components: Generates more readable code
- Preview often: Check on different screen sizes
- Export incrementally: Don't wait until the end to check the code
The visual designer lets you design and program from the same device — sketch a screen, export clean React, Vue, Svelte or HTML/CSS, and keep building right there. Try it today and speed up your development!
Designer